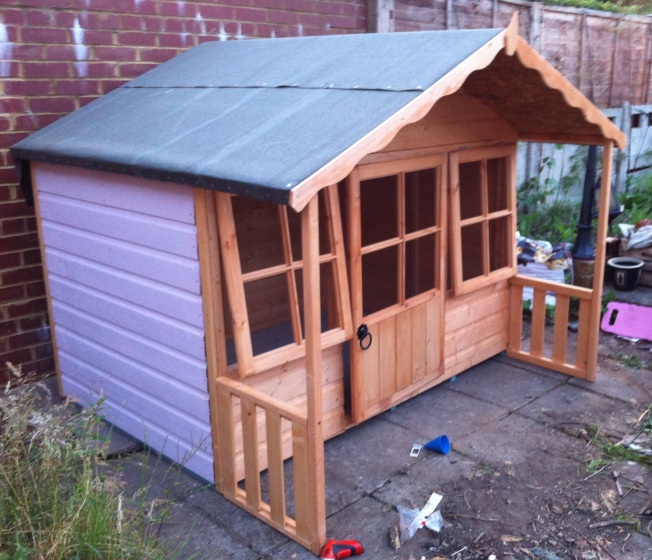
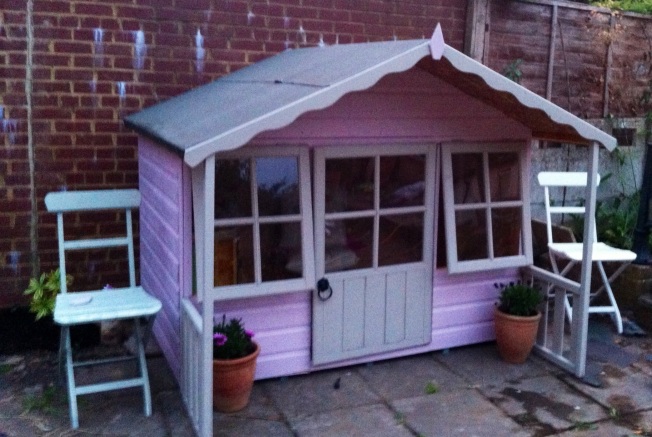
My lovely girl is a sucker for a Wendy House, and I wanted to create a little corner of the garden just for her.
The bottom left hand corner of the garden gets sun in the morning, but is quite shady in the afternoon because the neighbour has built a massive wall (due to a dispute with the previous owner of my house!!). I thought that would be the perfect spot.
There was a bed of raggedy looking shrubs and general greenery against the wall. So I paid some men to clear the biggest stuff away for me as some of the roots were enormous, and I had learned my lesson after trying to clear the front garden hedge (see previous post).
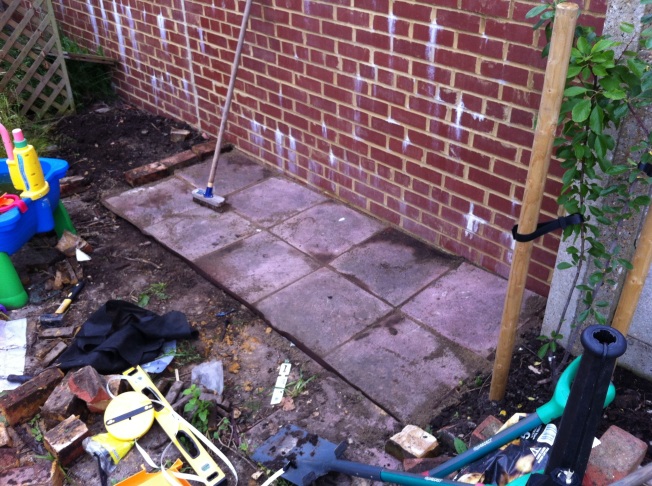
I decided to pave over some of the bed, meaning I could push the Wendy house back, almost against the wall.
I then dug it out a bit and dug out the bricks that were creating a little wall at the edge of the bed (any job that requires a lump hammer is satisfying). Trying to make it as level as possible.
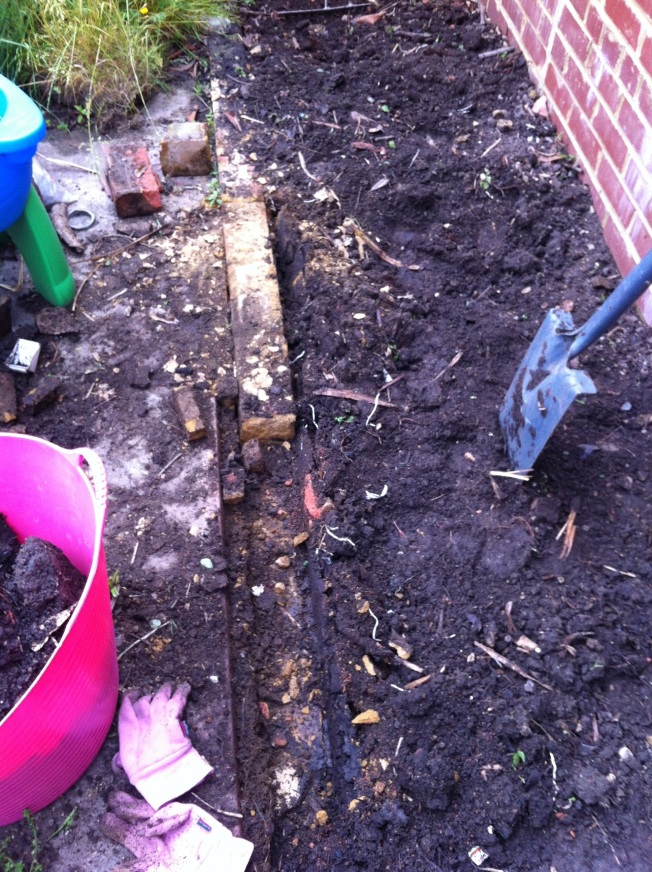
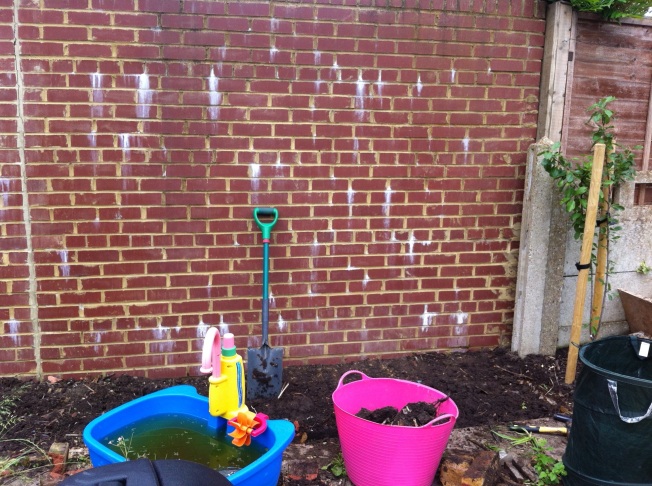
I then added weed suppressant fabric, which I pegged down.
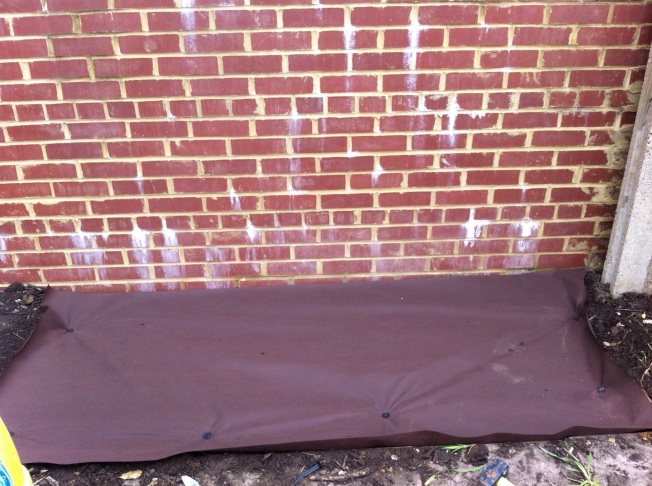
Then added sharp sand, and finally the slabs, which I nicked from the other side of the garden as I wanted to widen the border on that side.
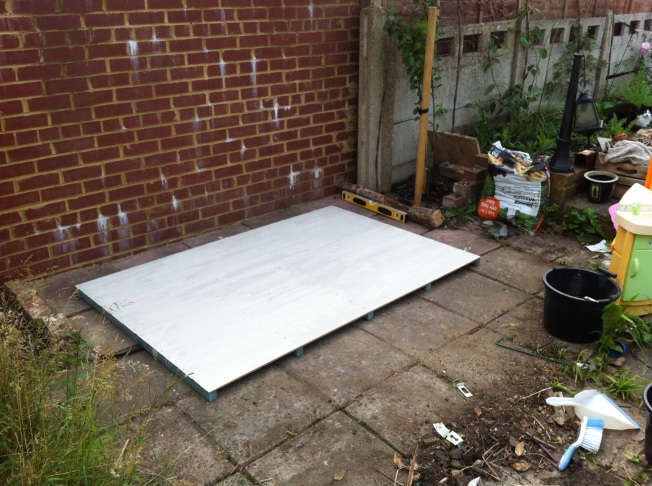
I tried to get it as level as possible using my spirit level. Which involved lifting the slabs and scraping out sand at various points, and jumping up and down on them, which was fun.
The Wendy house is a Pixie playhouse from The Shedstore website. It’s quite big (6ft x 5ft) because I wanted something that she won’t outgrow too quickly.
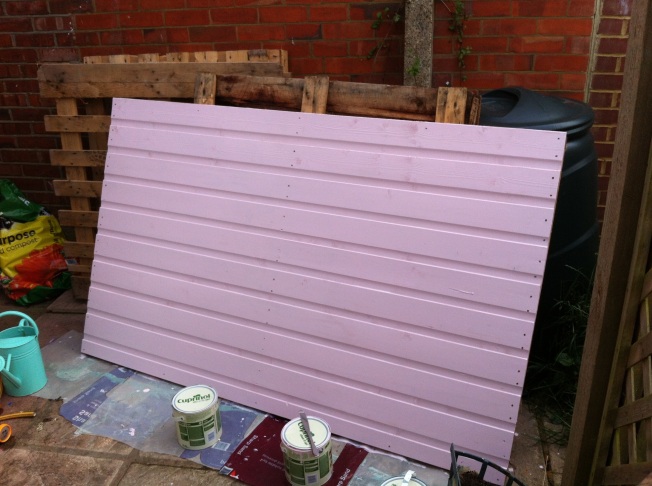
I painted the back and sides before construction, as I knew access to the back in particular would be difficult once constructed. I also painted the underside of the floor to give it extra protection.
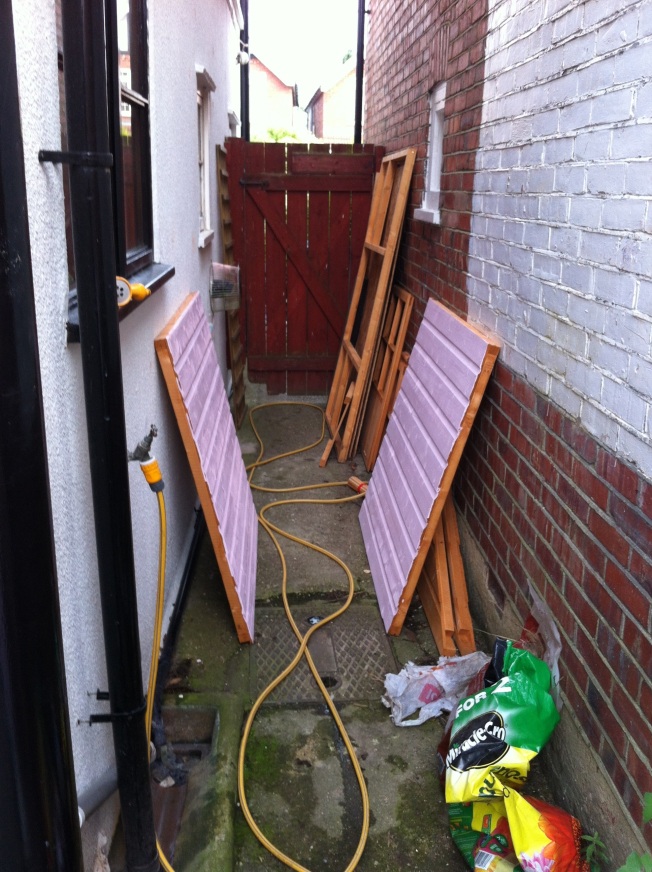
Sweetpea by Cuprinol in case you are wondering! I also discovered something interesting about Cuprinol shades during this process. It’s best to put a second coat on quickly if you are going to do more than one coat. If you leave it too long (over about 6 hours) then the second coat does a funny separating thing. I emailed cuprinol to ask why, and they said that once it dries fully it forms a wax coating that repels the second coat. I think if your wood is rough or very dry and absorbent then it wouldn’t be a problem as the first coat soaks in. But as the Wendy house had already been treated then it probably wasn’t very absorbent.
Anyhow, with hindsight, I painted the wrong bits before construction. If I was to do it again I would paint the back, front, windows and doors (including the window batons), balustrade (if that’s the right term for the rails at the front), corner pieces and roof edges. In fact pretty much all of it! All of these were very fiddly to paint once constructed, and I would have made a better job if I had done it beforehand. Particularly as I was painting bits of it in a different colour (Cuprinol Natural Stone). The sides are actually easy to paint when constructed!
I painted the floor once I had put it in position.
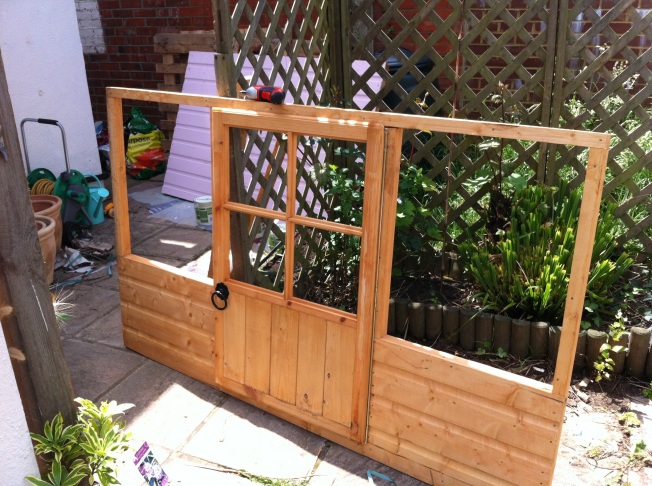
Then following the instructions, I carefully put it together. It wasn’t overly difficult, and it says you need two people, but I did it in my own. I just used garden chairs to prop things upright when needed.
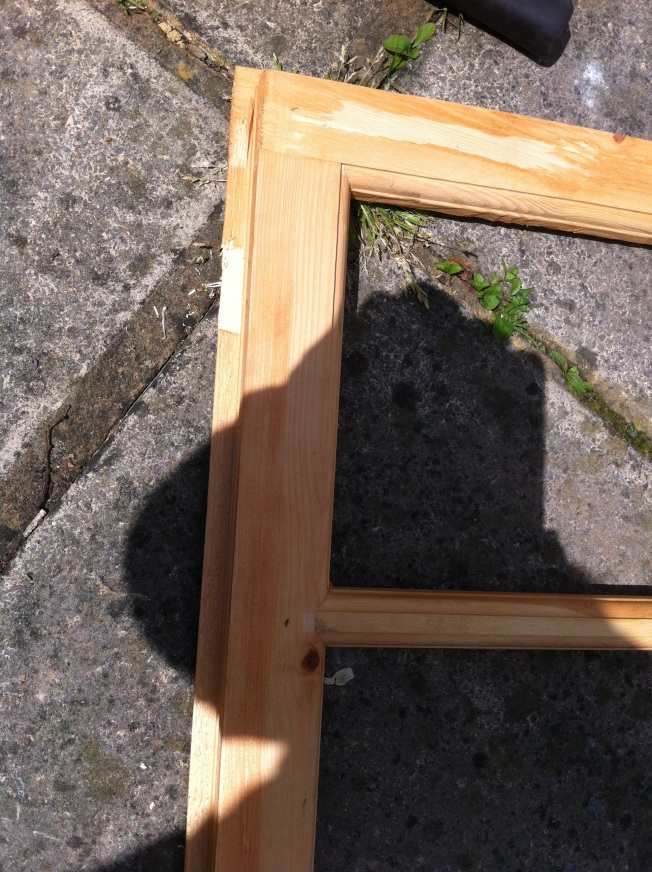
Chiselling out for the window hinges (actually easier than I thought).
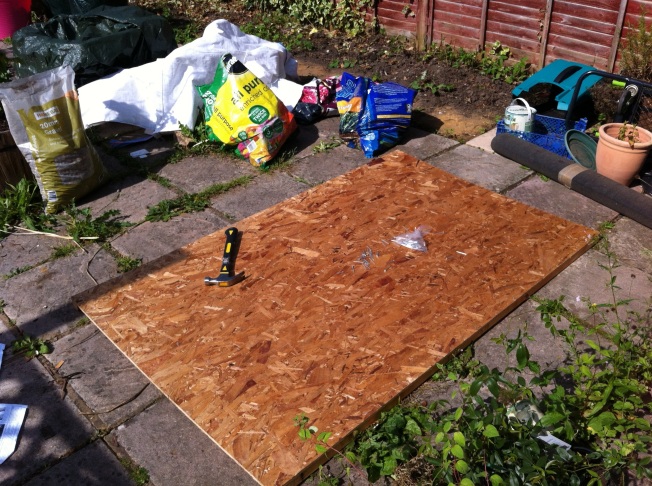
Nailing the roof to the slats. Great stress reliever. Bit noisy for the neighbours.
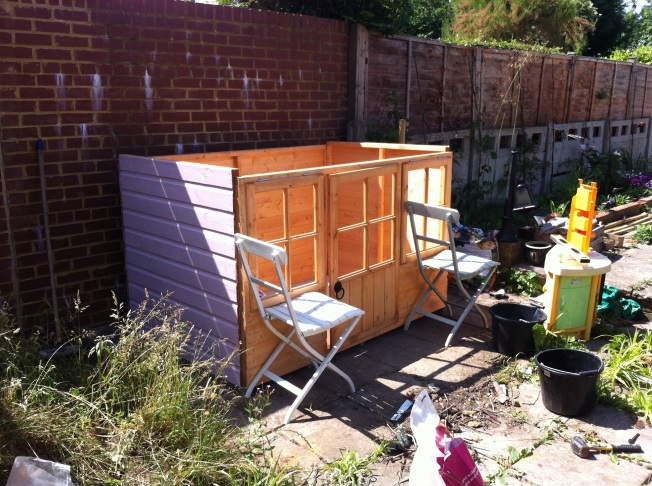
The walls are up! Note the strategically placed chairs.
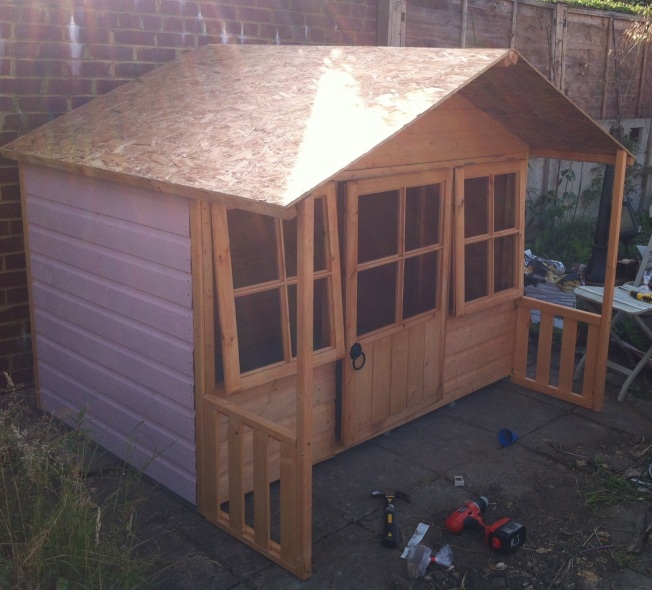
The roof is on! This is the only bit where I thought the instructions were a bit suspect. I couldn’t for the life of me get the inner batons to connect inside in the way they were described in the instructions and picture.
Anyhow, I decided it didn’t matter as the roof felt would cover the small gap at the apex. So I chucked it on and thought fuck it.
The windows were fun to put in. I pre-painted the door and window frames and the beading (definitely recommend this step). And I glued the beading rather than using nails. I was enjoying it so much was doing it at 10pm in the half dark! I also glued the little diamond onto the apex as nailing caused it to split. Just general purpose wood glue.
After some fiddly painting to finish it off. This is what it looks like.
